

FRONT NINE
Hole 1

The First Hole – Pride
Named ‘Pride’, after the 1st Deadly Sin, the 1st hole may fool you because it’s the easiest on the course. It is the shortest par 4, with a sharp dogleg left at the fairway bunkers.
This hole presents a couple of options: Long hitters can aim directly for the green. Otherwise, you can hit a fairway metal to the center of the 80-yard wide fairway. Your approach shot goes into a slightly elevated green. This is a good warm-up hole because there aren’t many obstacles.
Hole 2
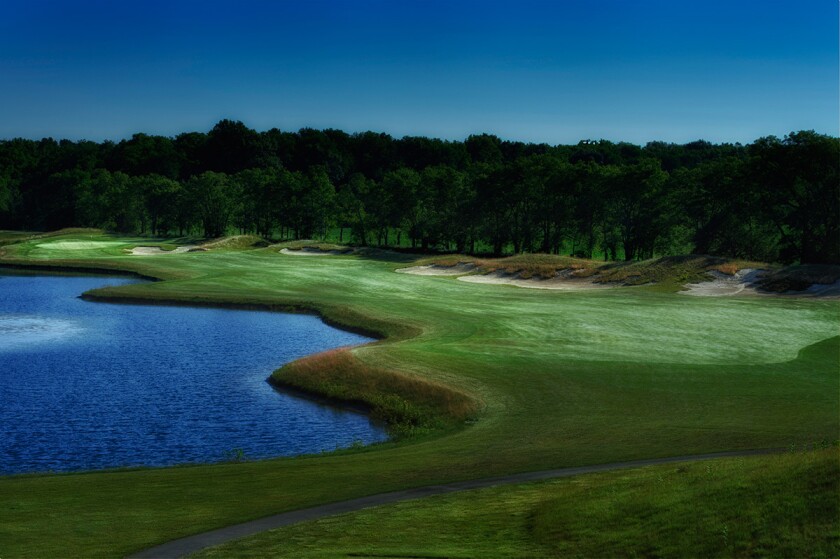
The Second Hole – Stains of the Inferno
If the first hole is one of the most forgiving, the 2nd hole is one of the least. This medium-to-long par 4 cape hole invites you to cut off as much of the lake as possible. But take care to avoid the bunkers lining the right side of the fairway. Studying the yardage book first will help tremendously.
Water on the left and another bunker on the front right test your approach shot into the green.
Hole 3
The Third Hole – Impenetrable Fortress
In honor of Redan architecture, the “Impenetrable Fortress” has a tilted green, surrounded by steep bunkers. Long putts are difficult because a ridge runs across its raised, undulating green. This par 3 has more hole-in-ones than any other. But don’t be fooled; the green slopes away from its ridge on both the front and the back.
Hole 4
The Fourth Hole – The Siren
You’ll not find a bunker in the landing area of this long tree-lined par 4. A well struck tee shot will leave you with a long iron approach shot into a large elevated green. Large bentgrass grassy-hollows flank both sides of this green.
Hole 5

The Fifth Hole – The Centaur
Passionate golfers will appreciate the design of this par 5. Starting with the bunker located in front of the fairway. A tee shot aimed over the middle of this this classic design feature, will land perfectly in the middle of the fairway. There is a generous landing area short and left that awaits the smart second shot. Water protects the right side of this hole from those attempting the aggressive second shot.
Hole 6
The Sixth Hole – Eunoe
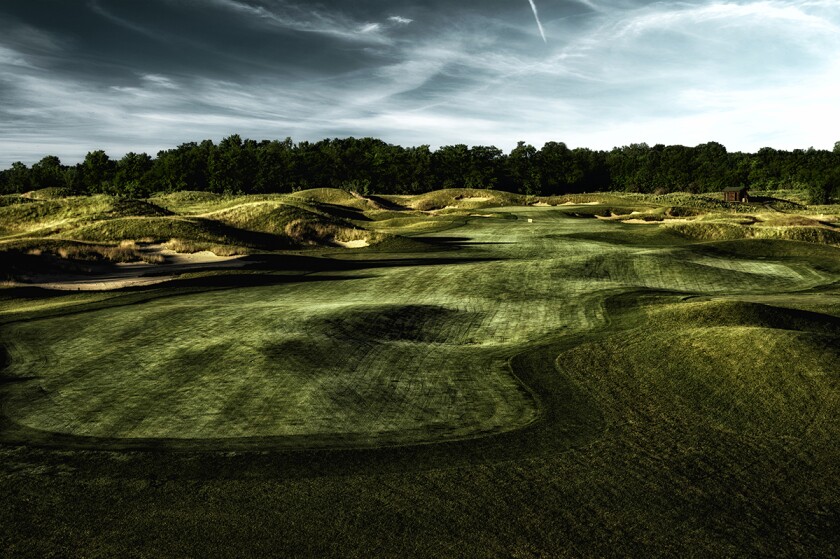
This dogleg right par 4 is guarded by bunkers on both the left and right side of the fairway. Played primarily into the prevailing wind, this hole can play longer than the yardage on the score card would suggest. The 6th green inspired by famous architect Seth Raynor’s “hogback” design will challenge the best of putters.
Hole 7
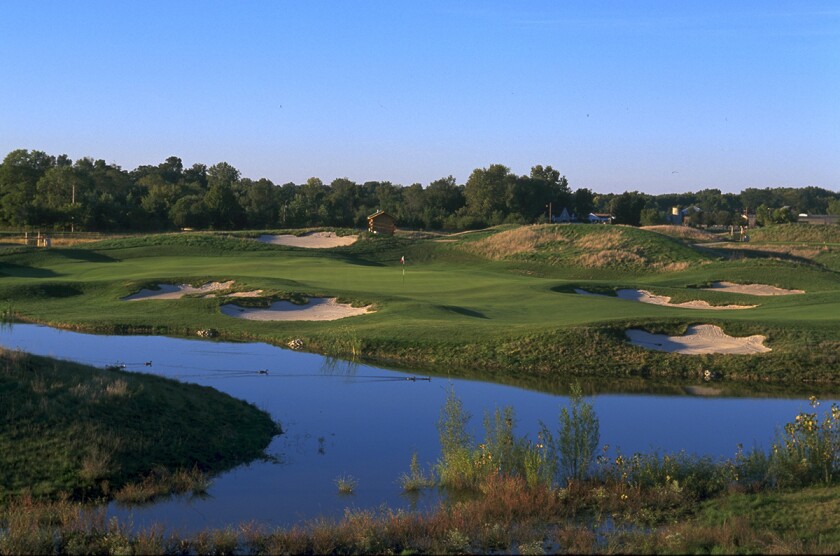
The Seventh Hole – River of Flames
This hole is a microcosm of what we tried to achieve, architecturally speaking, throughout the entire course.
The 7th hole played from a forward tee will be shorter and will play parallel to the water, where an inviting green awaits a well struck tee shot, or even a bump-and-run. Playing a tee station further back will make this hole play more difficult not only by increasing its length but by changing the tee shot angle as well. Your tee shot will now be required to carry the water and sit fast to find the putting surface. This two-tiered green can provide some interesting pin placements.
Hole 8

The Eighth Hole – The Serpent
This long, slightly downhill par 4 requires a straight tee shot onto a narrow, winding fairway or you’ll end up in the bunkers. Its deep green presents another stern test of your skill. The hole is modeled after famed British golf course architect Alister Mackenzie’s favorite green at Michigan’s Crystal Downs.
Hole 9

The Ninth Hole – St. Patrick
The finishing hole on the front side is a challenging par 5, which is slightly uphill and into the prevailing winds. As with many holes on Purgatory, there are bunkers lining the fairway.
Your second shot must be well placed to have a short or lofted iron onto a slightly elevated, well-bunkered green.
BACK NINE
Hole 10
The Tenth Hole – Paradise
This hole is a favorite among regulars. It has very few bunkers and trees line it on one side. But it’s a long par 4, and if you hit your tee ball too far to the right, a tree can block your second shot onto the green. The green itself is surrounded by several bunkers, with a shelf in the back and a large bailout on the right.
Hole 11
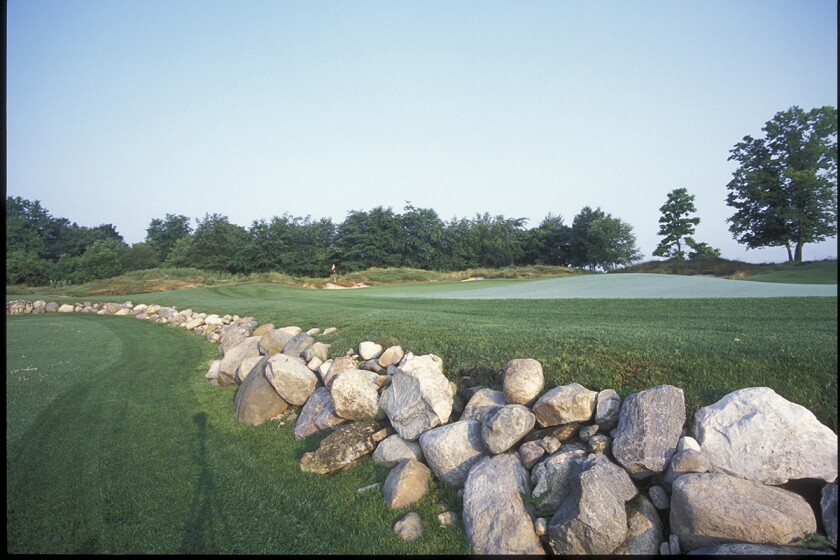
The Eleventh Hole – Eden
Another player favorite is Eden, named after its lovely, snake-shaped rock wall. This medium-length par 4 appears easy at first glance. But it tests you with trees, fairway bunkering and undulating mounds on the green. The green is protected on the front by the rock wall, and bunkers behind the pin will catch any shots hit too strong.
Hole 12
The Twelfth Hole – Valley of the Kings
On this par 3, there are extra tees that set you up to hit over water. The green is surrounded by mounds with flowing fescue. Accuracy is important, as there are bunkers just short and right of the green, and a bent grass approach area to the left. Plus, a large bailout to the left makes for a tough up and down chip. Once you’re on the green, there are subtle undulations that can make putting a challenge.
Hole 13

The Thirteenth Hole – Everlasting Torment
Purgatory’s longest hole might be the lengthiest you’ll ever play. It ranges from 358 yards at the front to 735 yards from the back. But it also has the widest fairway for those hitting from the middle tees. An undulating, sloping green makes this par 5 a challenge.
Hole 14
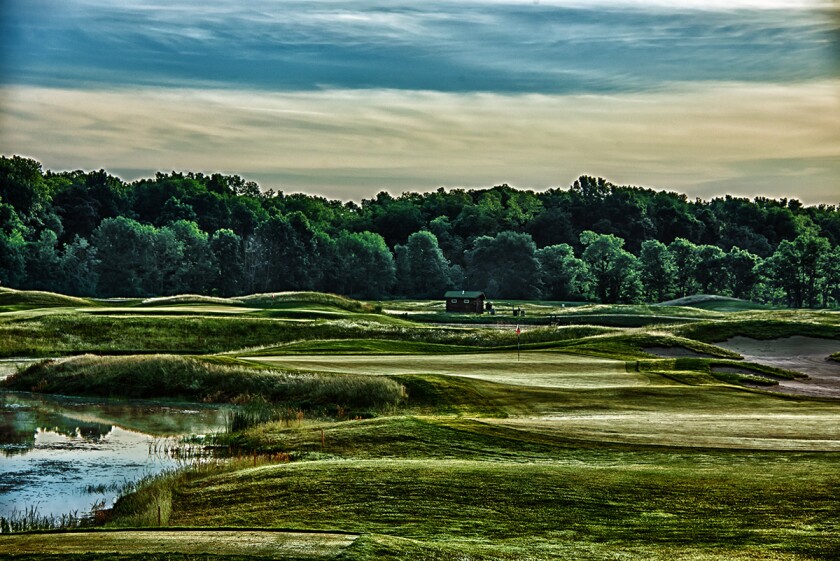
The Fourteenth Hole – Sweet Misery
Sweet misery is the description used in medieval poetry to describe the time spent in Purgatory. The 14th hole is a difficult but enjoyable par 4. From the tee box, aim at the bathhouse to line up on the right side of the fairway and away from the bunkers. The hole plays into the wind with an elevated, bunkered green.
Hole 15
The Fifteenth Hole – St. Michael the Archangel
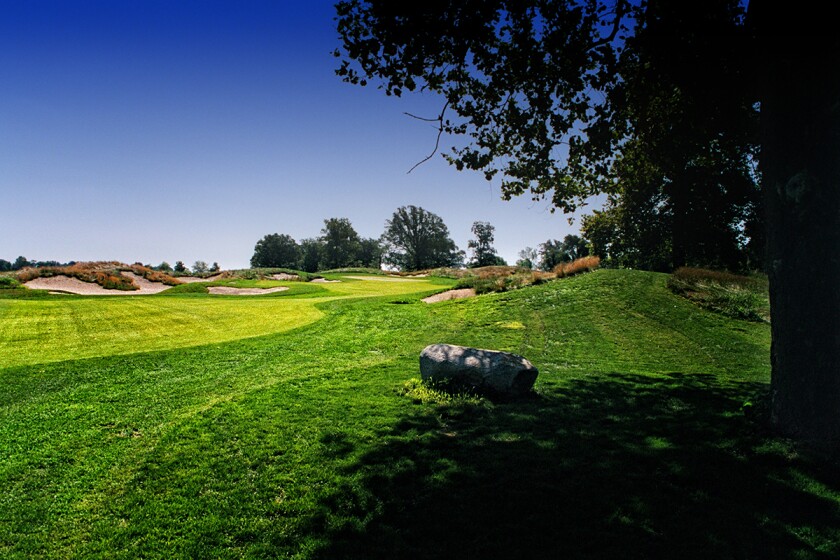
There’s a rock on the right side of the fairway that’s a good target for your tee shot. If you can carry the ridge, you can get an additional roll. Otherwise, if you land behind the tree, it’s a blind shot to the green. While it’s a shorter par 4, the approach shot is more difficult than average. The kidney-shaped green is small in front, but it is bigger and wider towards the back. A large mound in the middle of the green adds to the test.
Hole 16
The Sixteenth Hole – Blinding Cloud of Smoke
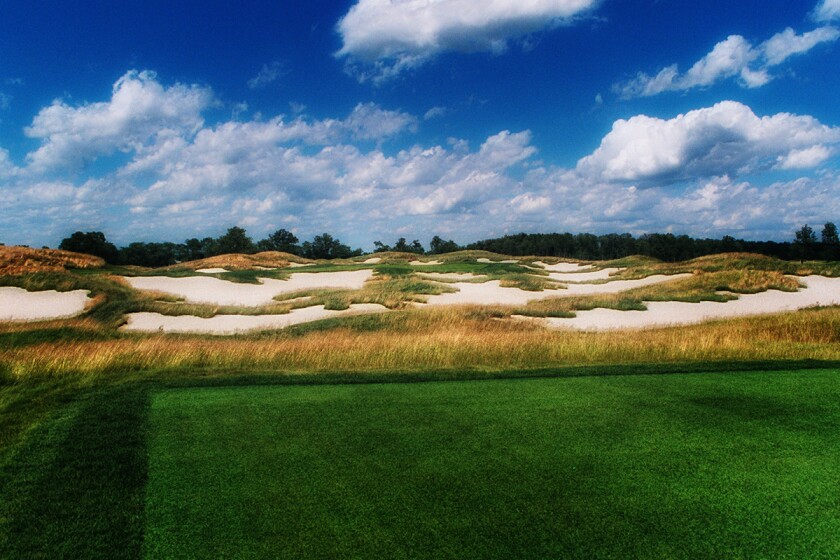
This par 4 hole is completely lined with bunkers, which make the fairway look narrower than it actually is. When you get to the green and look back towards the tees, the bunkers disappear, just like smoke. This hole requires a long tee shot that favors the left center of the fairway, followed by an uphill approach shot to a kidney-shaped, angled green.
Hole 17
The Seventeenth Hole – Hell’s Half Acre
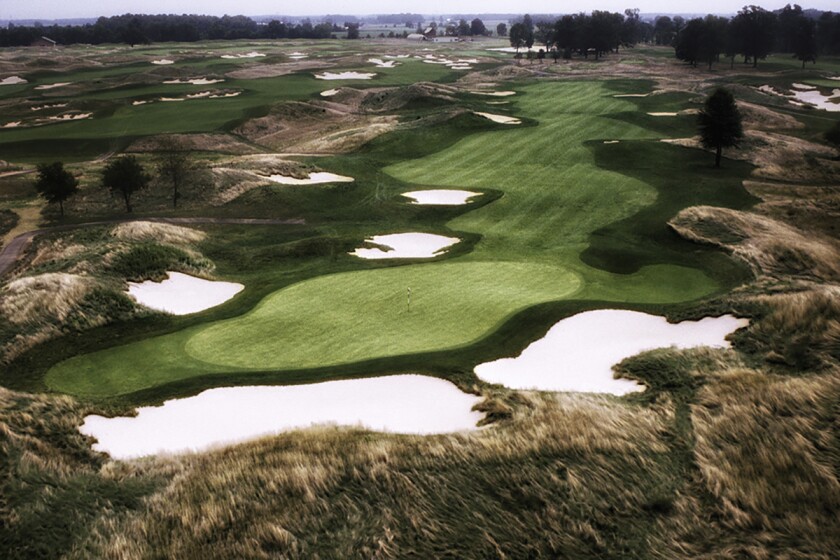
Bunkers instead of water surround this island green. It can be visually intimidating off the tee, but keep in mind that if you fall into the sand, you still get another shot. The large green has subtle undulations located across the putting surface.
Hole 18

The Eighteenth Hole – The Gryphon
This finishing par 5 has a split fairway from the tee shot, allowing the less-skilled golfer to reach the fairway easily. The more advanced golfer can take a risk and shoot for the more distant fairway, which could net a lower score. The fairway is well guarded by sand bunkers left, right and center.